Welcome to Eazy Program !

Here, you can learn simple but very useful tips
that you want when you are working on coding and programming. And also you are able to know about
the things related to blogging. Further, you have the
ability to use the projects that I have done in your work.
About Me
The main purpose of this blog is to give extra knowledge to make your code, project, and career beautiful.

Friday, April 23, 2021

Welcome coders, when you are dealing with codes sometimes you have to rewrite the same code segment again and again to do some functionalities. At that time we have a special thing which is known as "Functions" or "Methods". We can create a method by including the code segment that we want to reuse in the program and call that method when we need it. Yes, we all know about that, because when we are entering Programming, methods, and functions were the main topics we must learn.


Although we are able to use methods and functions to do some tasks as mentioned earlier, how can we use this kind of thing in "WEB DESIGNING"? Can we do it in HTML or using some web development language?. Yeah I know, your answer is yes!. We can reuse any code segment by creating a function using PHP or JavaScript in web designing.

But you did not get my point quite well. Actually, I want to reuse some appearance of the website again and again on every web page on the website, not to reuse a function or method that process some task. Can we use the same appearance(same part) on every web page without writing it on all that pages?. Yes, we can. Let's see how can we achieve this.

When we are developing a website we have to add a header part that contains the links such as "Home, About Us, Contact Us, log in" and also a footer that contains some extra information. And also we have to add this header and footer to each and every page of our website. But we can not write the code of this part again and again on each and every page. Although we are able to do it in that manner, we won't do it, because, in case of doing some modifications in the future on that code segment, we have to modify every page which contains that code segment. It is a very inefficient way.

But we can achieve this in a simple manner. To achieve this, we have to use PHP. It is some sort of easiest way to do this. Therefore we have to save our HTML files on our website folder with the ".php" file type. It doesn't affect the content of the HTML file.

Here I have some webpage content with header part and paragraph part. The file type of this file is .php.


And this is the code segment of this webpage.

The styles of this page are like below.

Now I cut the code segment of the header part and paste it on a new file and save it as heder.php in our website folder. 


Now here is the previous index.php file.


And here is the output of that file. The header part is not here because I cut that part.


Now I am going to insert that header part again using one code line. That magic line is <?php require('heder.php') ?>. See the following code.


Here is the output of this code. You can see the header part is again inserted.


Likewise we can insert the heder part using the "<?php include('heder.php') ?>" also.Same output will be displayed.

There is another function which is known as "require_once('heder.php')" and also "include_once('heder.php')", which are the little improved finctions of <?php require('heder.php') ?> and  <?php include('heder.php') ?> functions.

Sometimes we add the same part twice on our webpage as a mistake by forgetting that we previously inserted it. This happens when building very long and complex web pages. But we can prevent this using the second method, which is <?php require() ?> or <?php include() ?> . The same result will be displayed as before but, this will prevent the duplication of the same part automatically. Therefore I strongly recommend to use any of this <?php require() ?> and <?php include() ?> methods on your code.

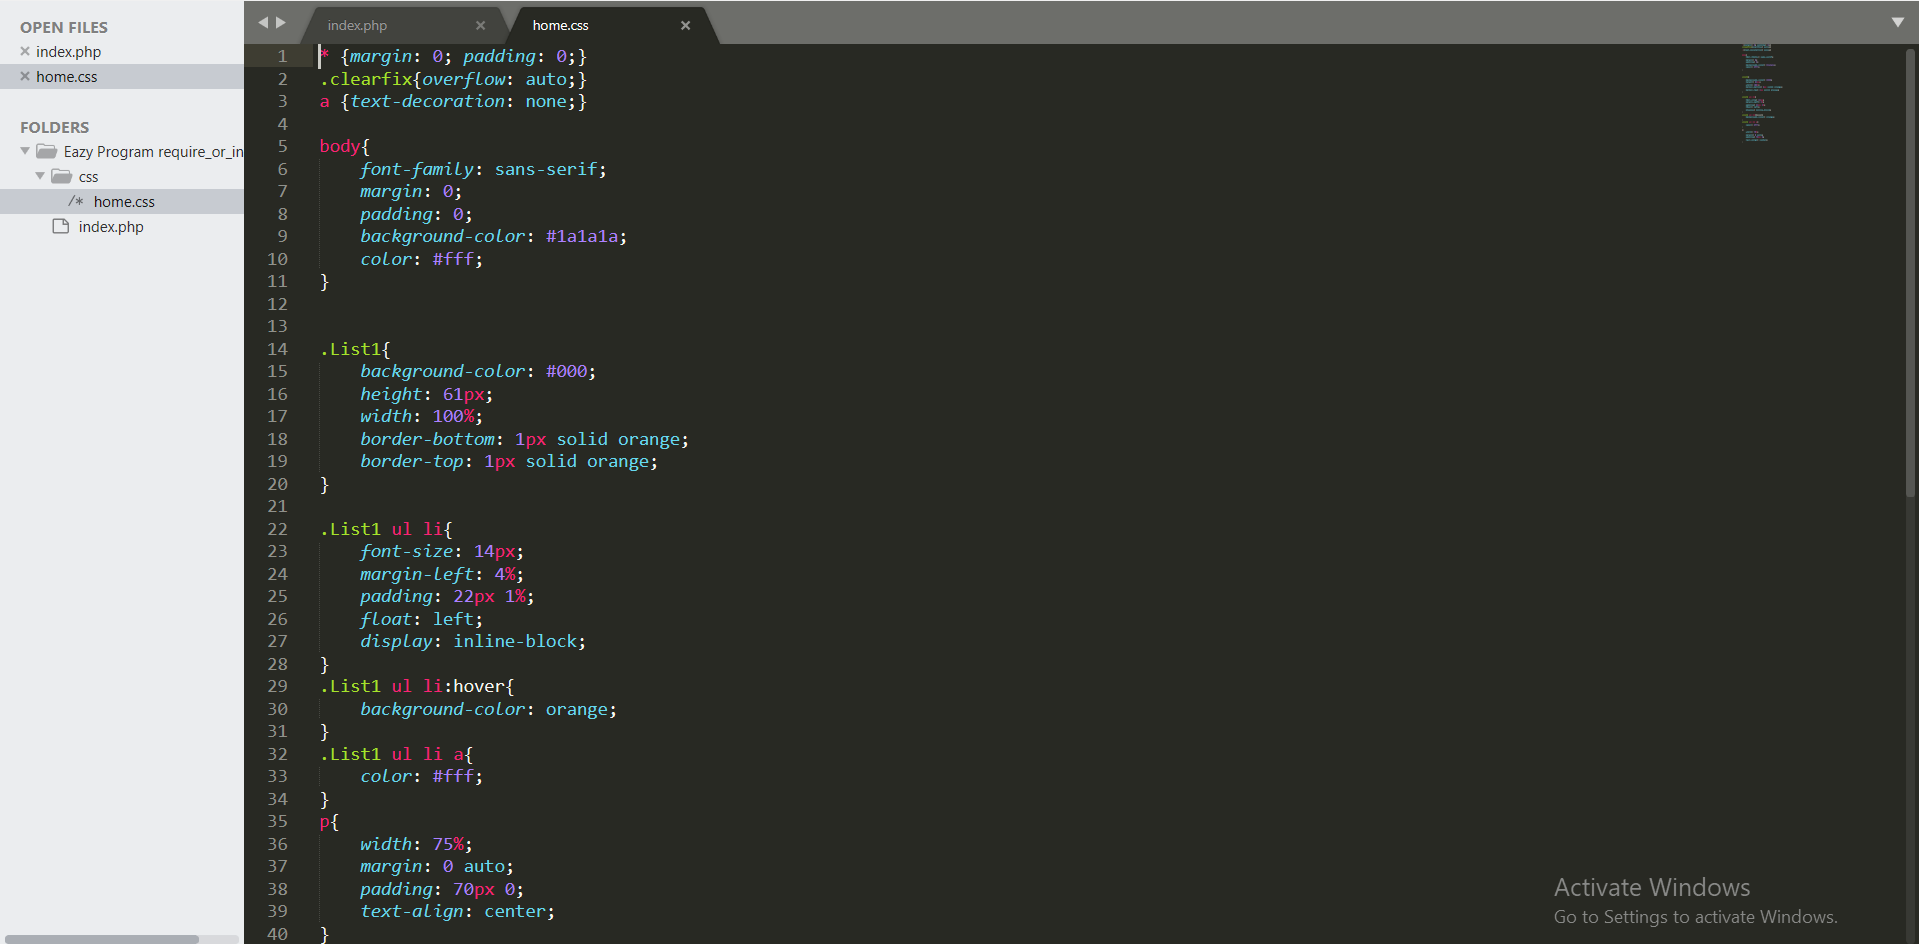
Also, you can separate the styles of the header part into a new file and use it in the "heder.php" file. You can see it in the file I have added below. Download the file and see how I have separated the styles also. By using this technique you can modify your code efficiently.

Using this method you can add the same part into each and every web page in your website without rewriting the same thing or copy and pasting the same code segment. I think this will very helpful to you when you build a website.

Use these tips and make your project or code pleasant with EAZY PROGRAM. If you have any issues or if this post was helpful for you, please leave a comment. Also, share this with your friends on social media and follow us to know these kinds of useful tips, and subscribe to our newsletter to get a notification as soon as we publish a new post. See you soon. Until then,  Happy coding... Stay safe...!


Categories: , ,

Saturday, March 27, 2021

Hello Programmers, We are going to talk about a very important topic. This is based on an input tag in HTML, the type of the tag is "date". Yes, it is. As with the other input tag types in the HTML, the "date " type also behaves in the same manner but, there are some little differences in this case. Will see it...


Just like the other input tags, we can style this type=" date" tag using CSS and JavaScript. Also if we include an input tag with type=" date" to the source file, id displays the values to the user in dd/mm/yyyy format... No, it's wrong!. It depends on the browser. The browser decides how it appears on the interface.

Browser like Chrome, Firefox, Opera, and Internet Explora use the dd/mm/yyyy format. But some browsers use different formats in the interface of the file. These are some examples:

  • In Chrome:

  • In Firefox:

  • In Internet Explora:

  • In Opera:


But, there is something that always the same in every browser. That is every browser outputs the selected date by the user in the format of yyyy-mm-dd, with global $_POST variable using PHP.

Below I have included a function to handle the date using PHP. 


You can download that file and use it on your project using PHP method; <?php require_once("path/time.php") ?>. To use this, you simply paste the time.php file inside your project folder and, use this PHP method line to include the date function that I have included here on your source file. Here path means the location. If you have pasted the time.php file inside another folder in your project folder you should add that filename as the path. Otherwise, if you have pasted the time.php sile directly inside the project folder, no need to add the path, just use it like this: <?php require_once("time.php") ?>. you can directly copy and paste the code of the function onto your source file.

By using this function, you can take a date input from the user and, check whether the date that the user-selected is a previous date or not. And also this function outputs the number of days difference with the current date.

These are the most important basic things of the input types of the date in HTML you must know. Use these tips and make your project or code pleasant with EAZY PROGRAM. If you have any issues or if this post was helpful for you, please leave a comment. Also, share this with your friends on social media and follow us to know these kinds of useful tips, and subscribe to our newsletter to get a notification as soon as we publish a new post. See you soon. Until then,  Happy coding... Stay safe...!


Categories: ,

Thursday, March 11, 2021


When creating a website, an application, or maybe software, you need to create a database to store the records. There are so many Database Management Systems(DBMS) applications, for example, Php MyAdmin, MySql Workbench. Whatever application you use, you must insert the records taken from the application, with a unique record id.

Yes, it is a simple thing which is creating a unique record id for every record. In Php MyAdmin, we can create a field with name as Id, index as primary, type as Int and, by ticking on auto-increment we can create a record Id field with the integer data type. Also, it is an auto-increment field(No need to add the values to that field, when inserting the records. Values are automatically added by auto-incrementing one by one). It gives unique numbers as IDs to every record in the table. But it is a little bit not suitable when you are working on a project or when developing an application or software.

Therefore we can create an Id with other characters that related to a specific table in the database. It is very easy to identify the table by looking out the record Id, and also it gives a rather pleasant look to your work. For example, we can create a Users table with an Id field which values in the format of USR_001, USR_002, ..., USR_023, etc, also an Admins table with an Id field which values in the form of ADM_001, ADM_097 likewise.

Let's see how we can do this, and I'm going to tell you to step by step as before. Here I use Php MyAdmin to tell you how to do this task but I use the SQL commands, not the interface of the Php MyAdmin. Hence you can use those codes in your preferred database management system application or in command prompt also.


  • Step 01: As the first step, here I create a table in the database as the users, And I create a user_id field to insert values in the form of USR_###. I use the data type of user_id field as varchar because we use characters in the values.
CREATE TABLE users(user_id VARCHAR(7) NOT NULL PRIMARY KEY DEFAULT '0', first_name VARCHAR(30), last_name VARCHAR(30));

Now I have created a table with no records.


  • Step 02: Create another table to create a trigger to format the values in the user_id field of the user table. This table I named as users_seq. Here I use the data type of id field as an integer. Because we use this table to make our user_id field in the users table with characters.
CREATE TABLE users_seq(id INT NOT NULL AUTO_INCREMENT PRIMARY KEY);


  • Step 03: Now create a trigger on the users table to connect both tables and to do our task. We need a trigger to insert the values first to the users_seq table and then insert the values to the users table to the field of user_id in the form of USR_###
DELIMITER $$
CREATE TRIGGER tg_users_insert
BEFORE INSERT ON users
FOR EACH ROW
BEGIN
  INSERT INTO users_seq VALUES (NULL);
  SET NEW.user_id = CONCAT('USR_', LPAD(LAST_INSERT_ID(), 3, '0'));
END$$
DELIMITER ;

In Php MyAdmin, you can see the created triggers of a table in the trigger tab as shown below. Go to the table, and then go to the trigger tab.

  • Step 04: Now simply insert few records to users table and see the values of the user_id field.
INSERT INTO users(first_name, last_name) VALUES ('Jhon', 'Doe');
INSERT INTO users(first_name, last_name) VALUES ('Kevin', 'Mogan');

Here you go... All the values of the user_id field are in the form of USR_###.


Likewise, you can create a field for the Id field, or maybe another field which is values contains the characters also. You can create your own form of the values. You only need to do is, changing the trigger values as you wish. Use these tips and make your project or code pleasant with EAZY PROGRAM. If you have any issues or if this post was helpful for you, please leave a comment. Also, share this with your friends on social media and follow us to know these kinds of useful tips. See you soon. Stay safe...!

Categories:

Wednesday, February 17, 2021


Hello Programmer, you are gonna create your blog right?.. Ok, either you may gonna create a blog or do some other thing related to the blogging that does not matter. But if you're going to create your blog now, that's fantastic. You have taken your step on a good thing that is very helpful in your career. Ok.. turns out, the matter is you are now in trouble because when you are going to customize your web theme or blogger theme, there is no gadget to add images to your blog theme(Not as a post). 


If you go to the "Edit HTML" link to add an image to the blog, your mind asks you while looking at the HTML code of the blogger theme"How I take the link of my image?.. It is on my computer". Then you are trying to upload an online image on the internet using <img src="https://your_online_image_link.jpg"/> tag, but it is also not working.

Then you are trying to upload your image to Google Drive or any other online file uploading platform and take the link of your image and add it to your blog using <img src="https://your_online_image_link.jpg"/>. Oh god..! it is not working right?.. Hey, don't worry. I did the same thing and failed like you but, remember if you did like that, you have even tried. It is a good quality of a good developer/programmer.

Now I'm going to tell you step by step how to fix this matter. Actually, there is a way to add images to the blog. Let's see it.


  • Step 01: Go to the admin panel of the blog and click the "Add post" button.
Now you are going to create a draft post. Remember it is a draft post, make sure not to publish this post.


  • Step 02: Add your image to this post using the image upload button.

Ok great. Now the main thing, we are going to the link of your image


  • Step 03: Go to the "HTML View" of the post using the "HTML view" button. on the top left
Ok... We are now in the HTML view of our post. Here we have the link of the image that we uploaded
Select this link in the <src> tag and copy it. Go to Step o4. Remember, Do Not Publish the Post. Just keep it as a draft post.

  • Step 04: Now go back and select the "Theme" button in the admin panel and click the "Edit HTML" button.


You are now in the theme of your blog. Write <img src = "the_link_you_copied"/> tag in the body of the code where you want to display the image on your blog and paste the link of the image that you copied inside the "src" attribute of the <img> tag like below.

  • Step 05: Then save the theme
And, view the blog or refresh the blog if you opened it before.
Here you go..!
You have added an image to your blog successfully.

This is the way of adding an image to the theme of the blog. This is not the only way but also there are so many ways to add an image to a blog theme. But this is the easiest way. That is what EAZY PROGRAM does. Teach you the eazy steps to make your code and carrier beautiful. 

You can upload every image that you want to upload to your blog theme to that draft post and take their links and place those images in the theme of your blog using the "<img>" tag. Always remember not to publish that post. It is a draft post. Name it as Theme images to make sure not to publish it. Ok Programmer... If you have any problem or this post was helpful to you, please leave a comment. And also do not forget to follow us on social media (Facebook, Twitter, Instagram, LinkedIn) to know as soon as we publish this kind of tips on this Eazy Program. See you soon... Stay safe...!


Categories: